Building the emailkb Macro Keyboard
I picked up an emailkb kit from Electrolama (Omer). It’s a compact six-key macro pad built around a Raspberry Pi Pico. Omer let me raid his supplies, and found me some blue switches, and some interesting purple keycaps which have room for little print out lables.
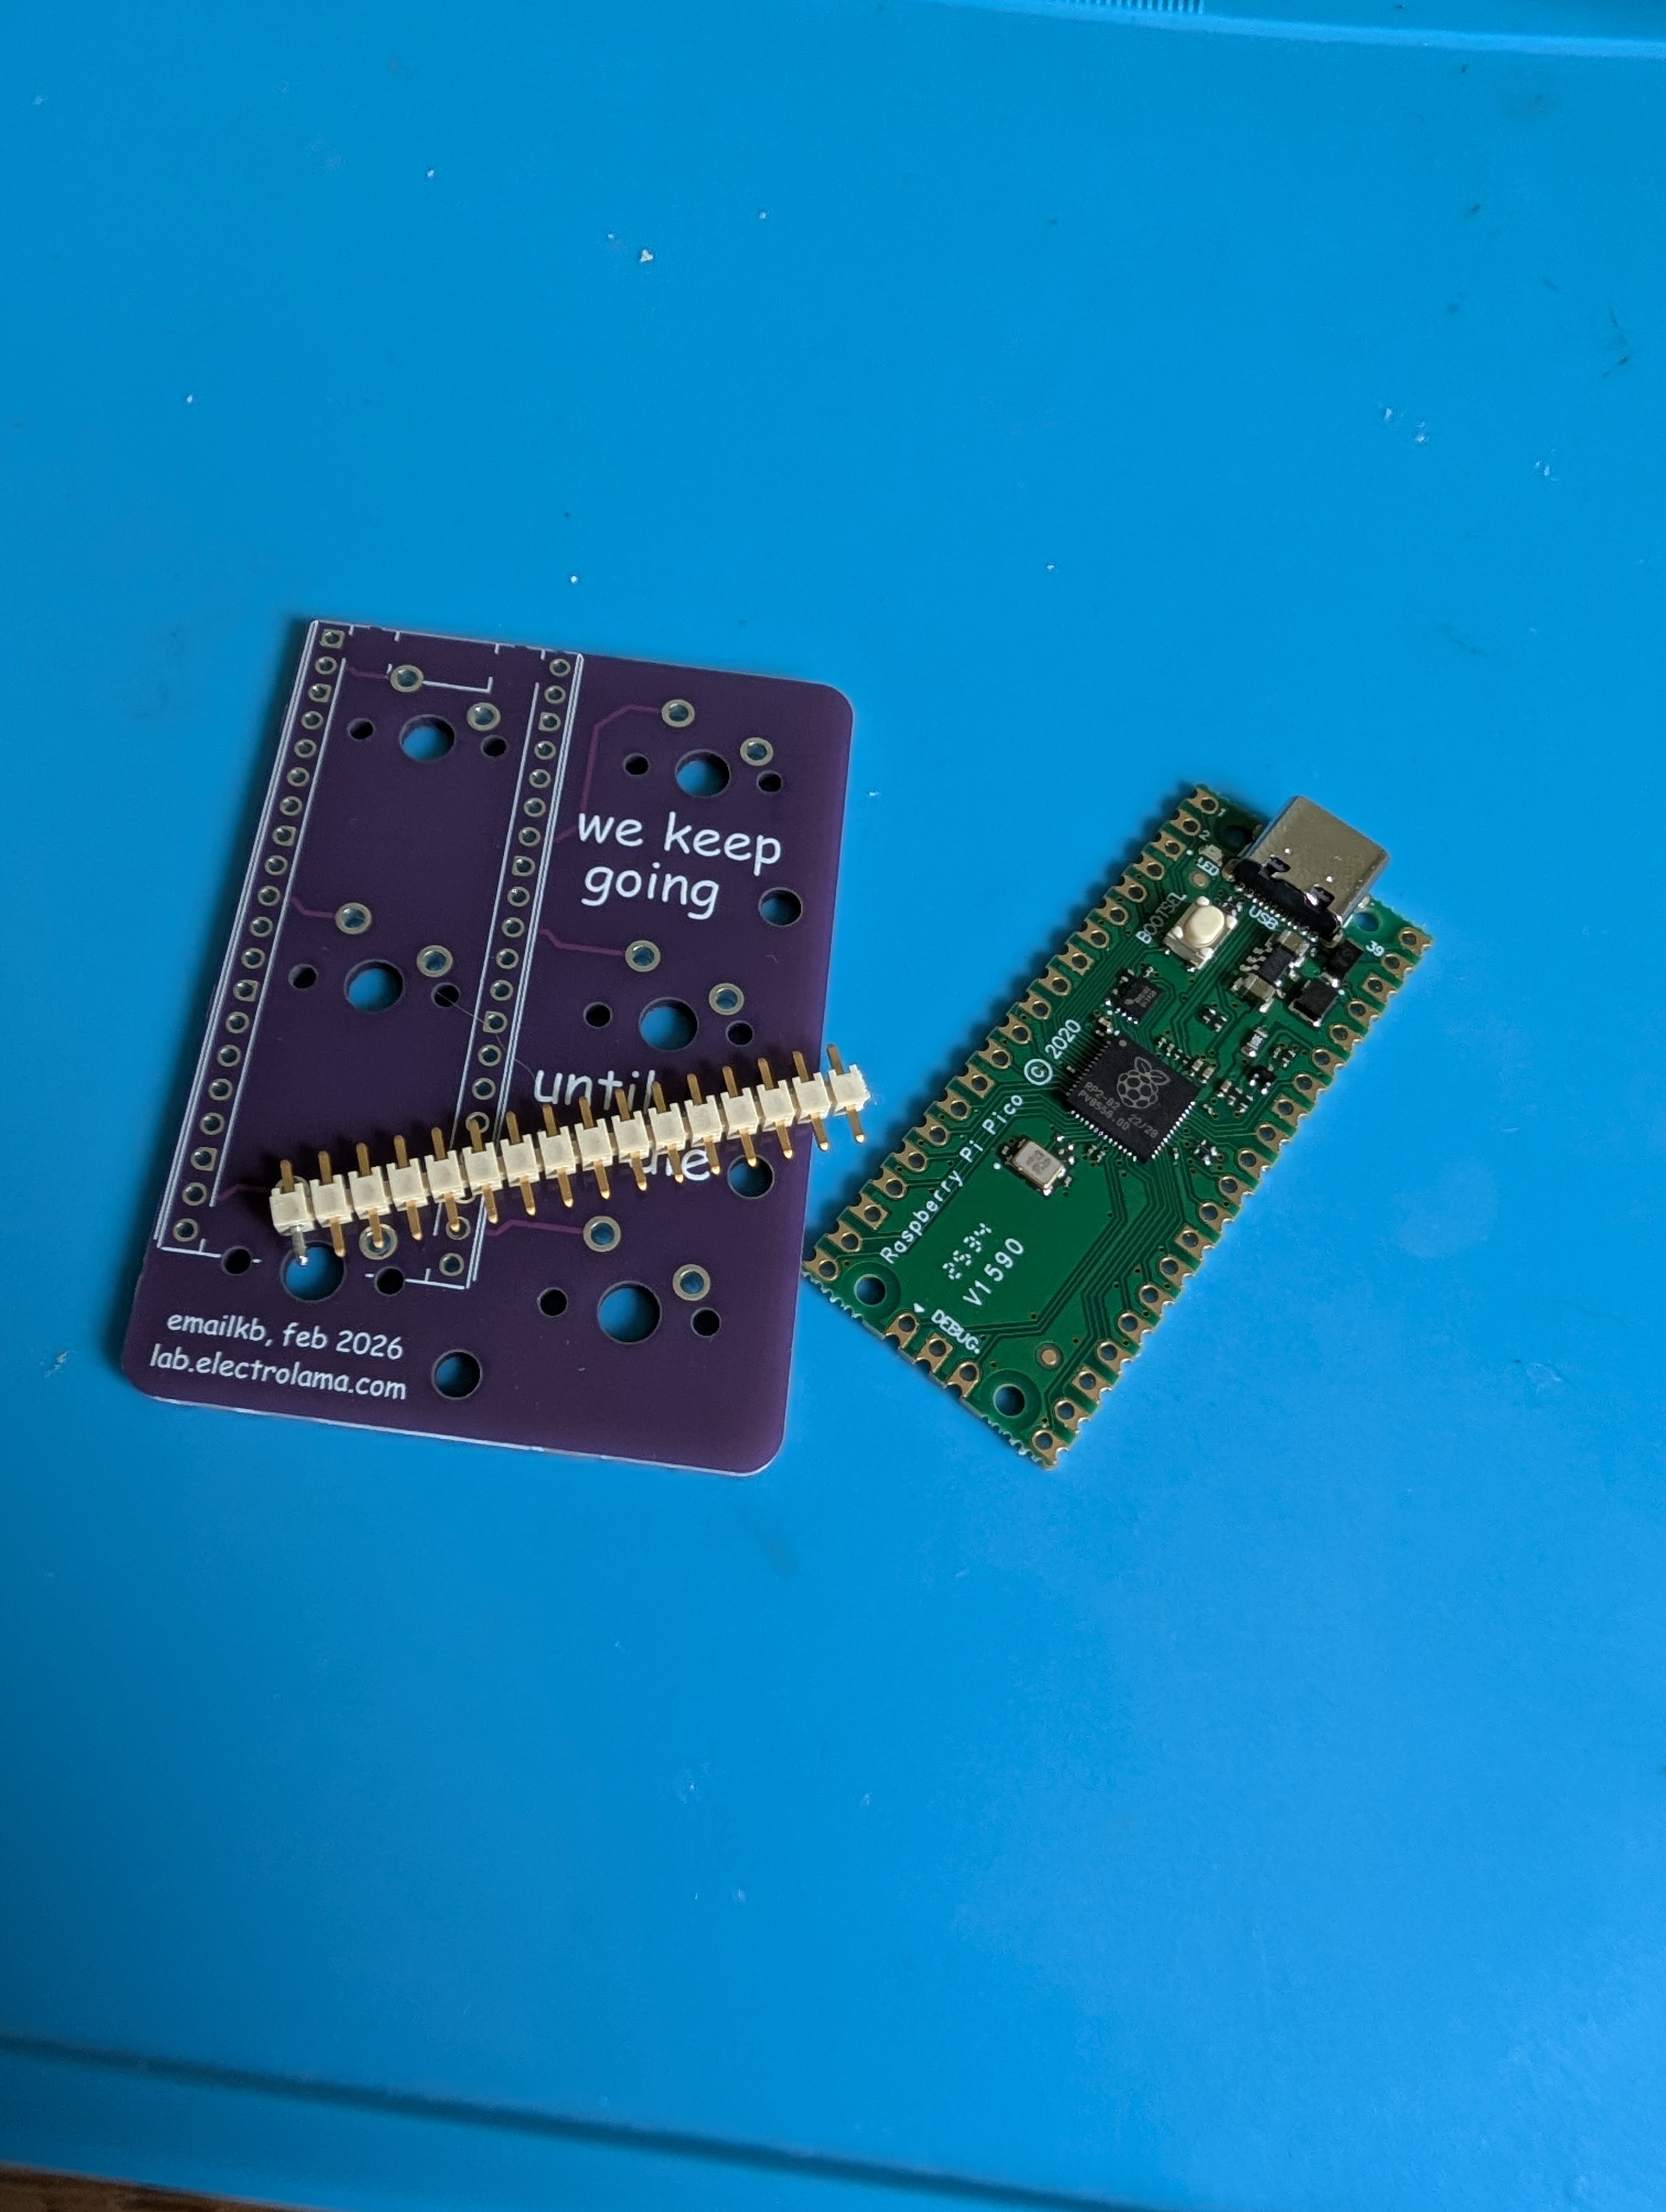
The kit laid out before assembly
The PCB
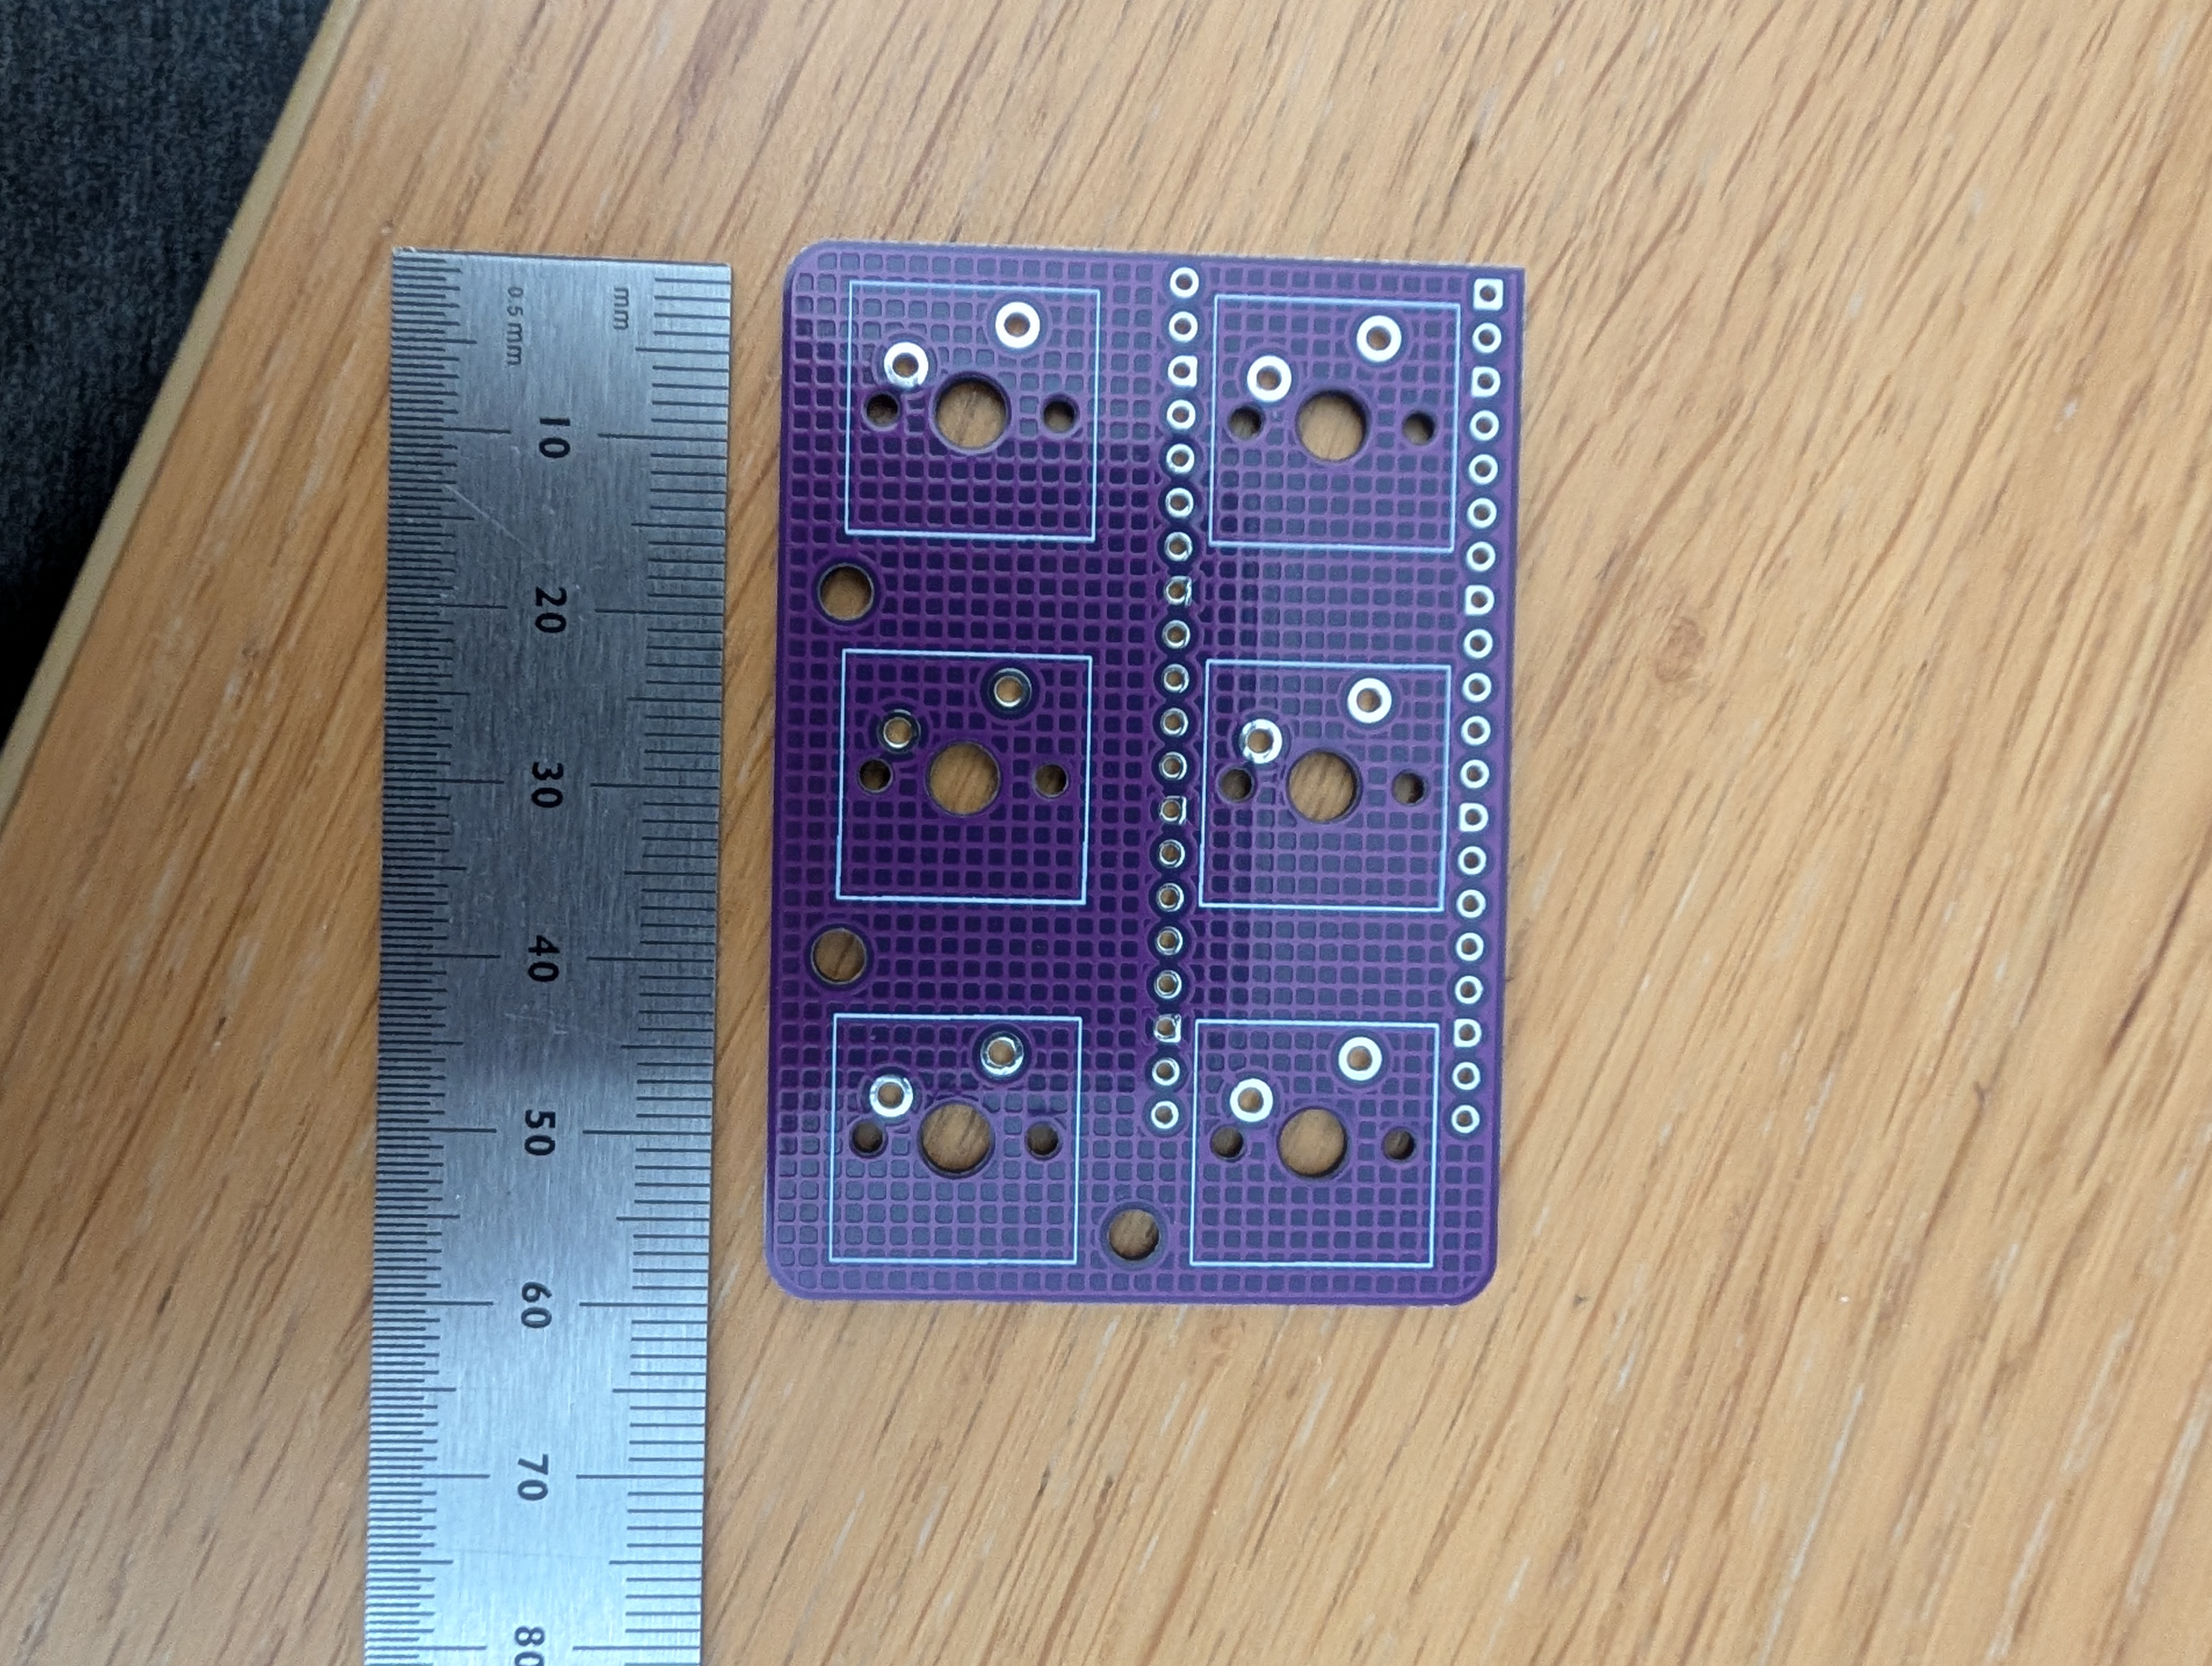
The bare PCB, roughly credit-card sized
The emailkb is about 4.5cm x 6cm with footprints for six MX-style switches arranged in a 2×3 grid.There is also room for raspberry pi pico on the back, and the silkscreen on the back reads “we keep going until we die”, which felt appropriate.
Installing the Switches
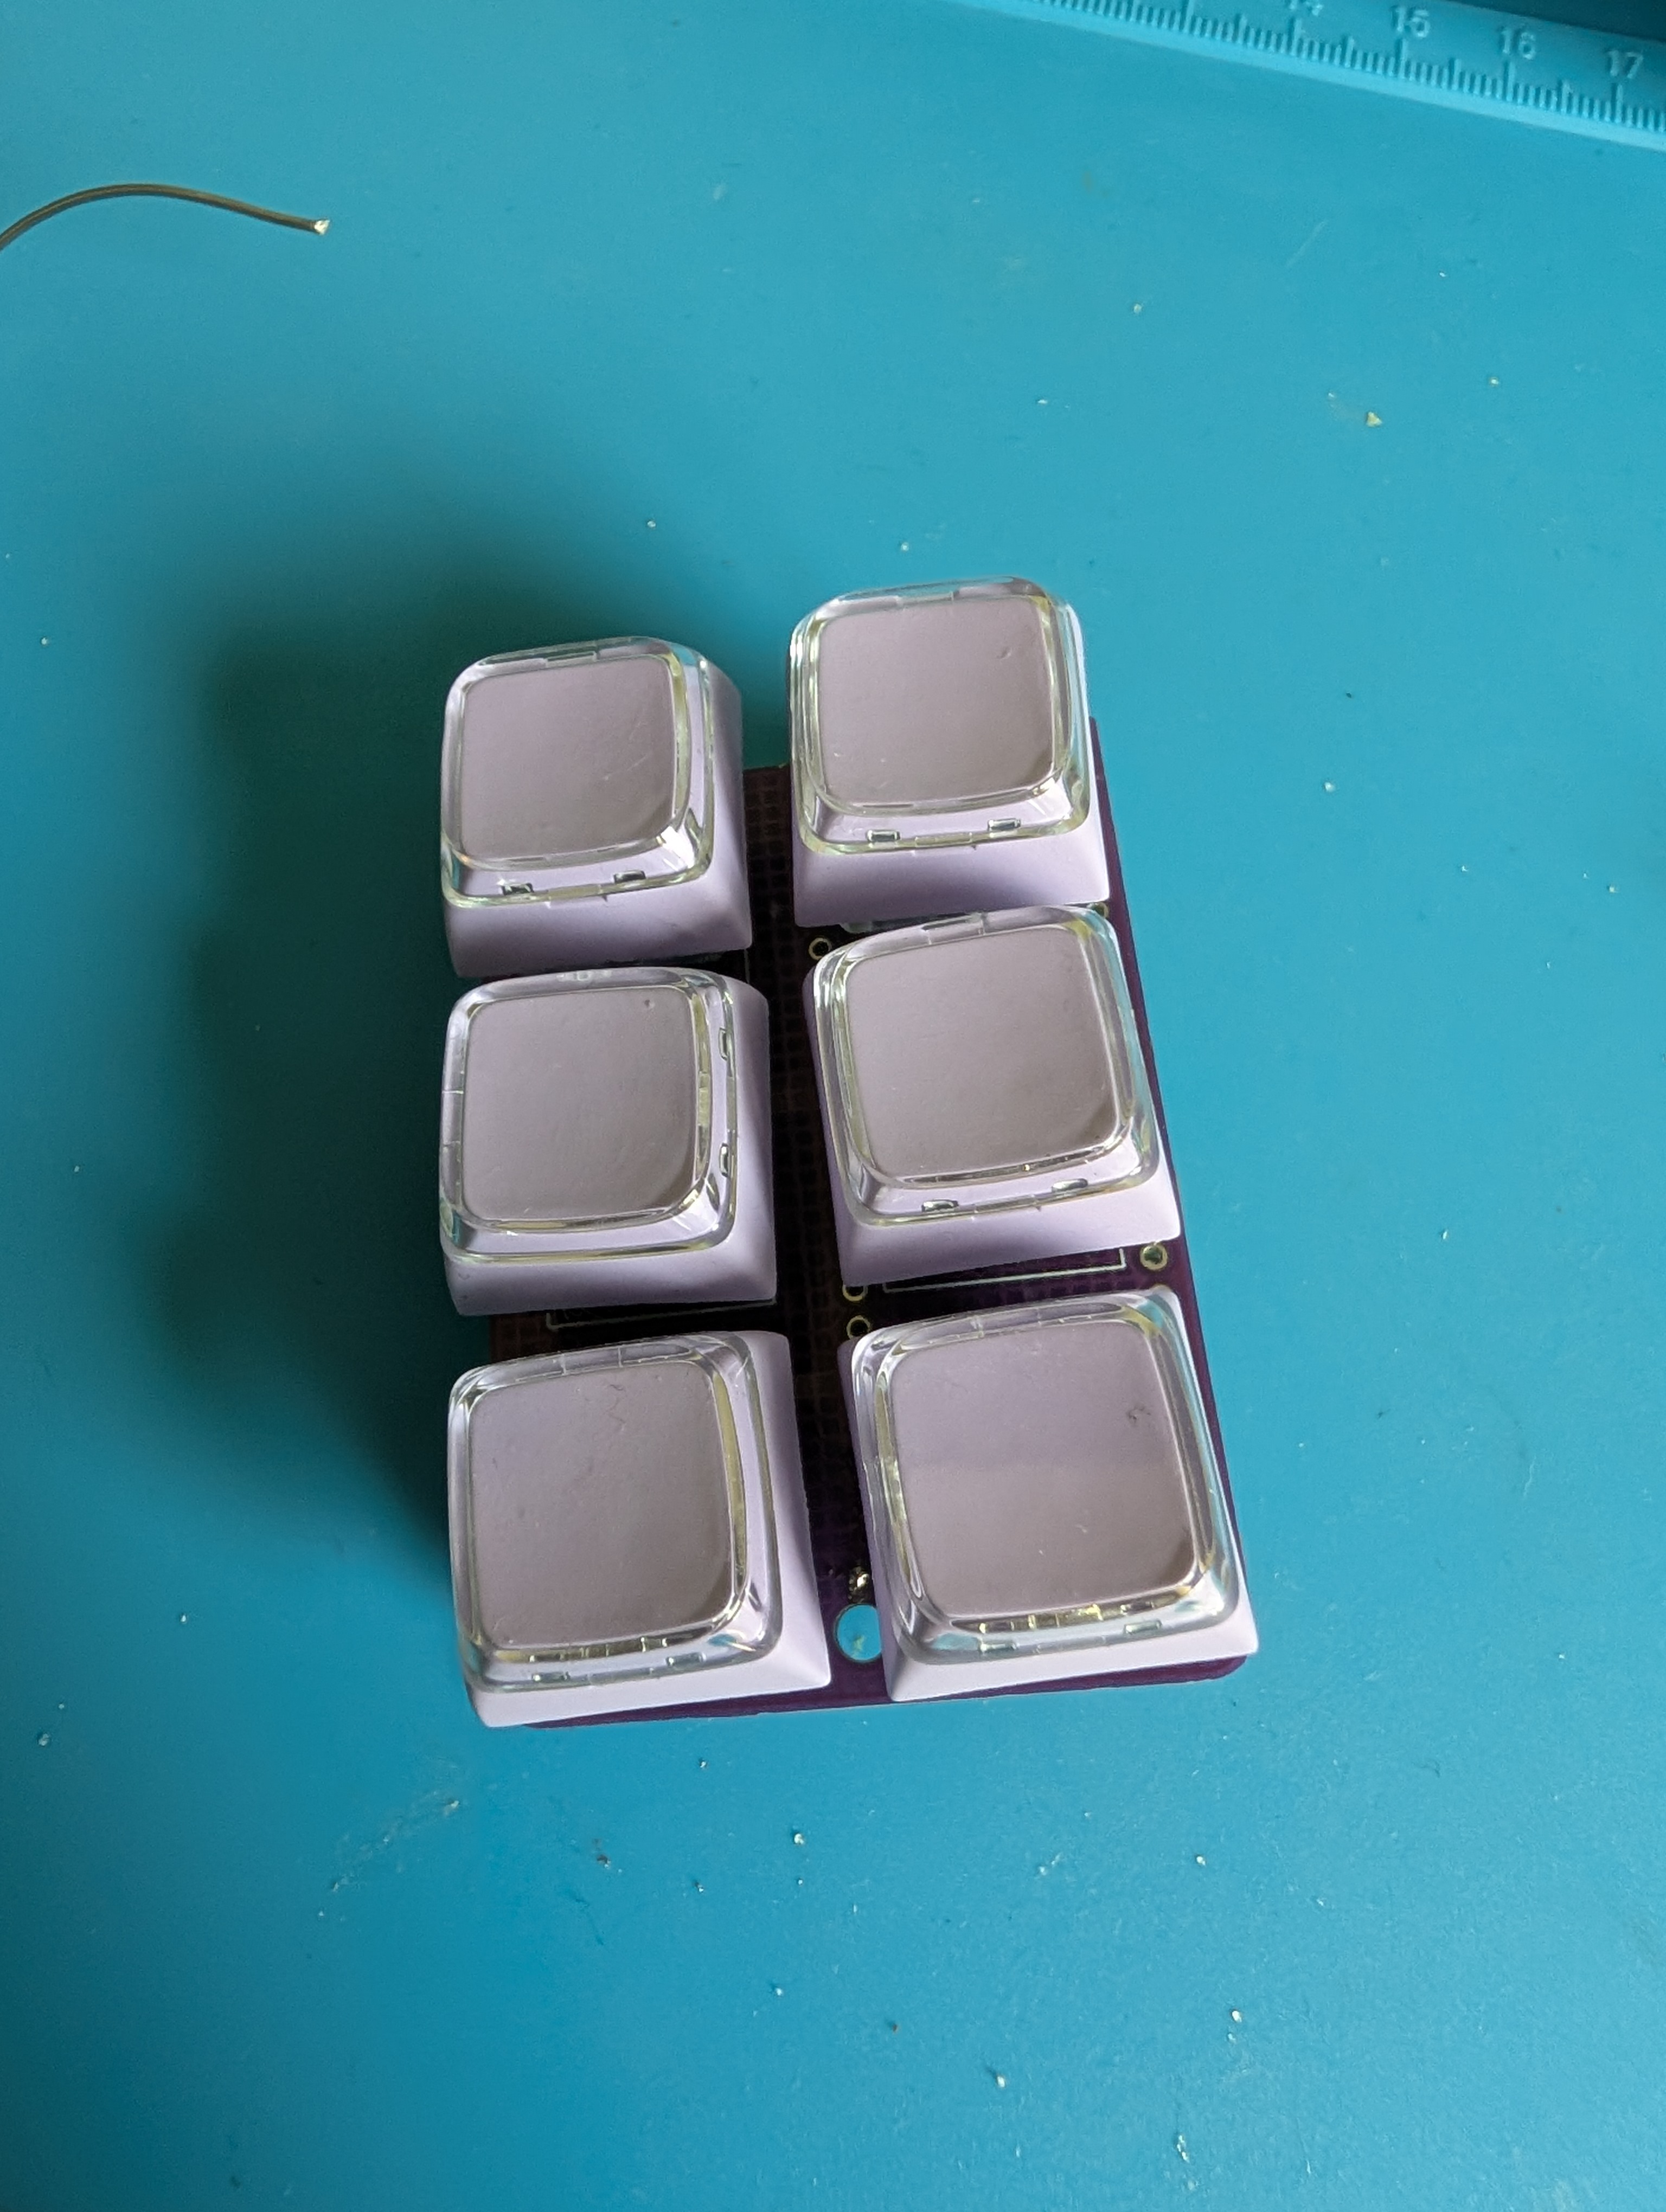
Switches in, keycaps on
First things first: the switches go in before the Pico, since the Pico mounts on the back and would get in the way. I dropped the six switches into the front of the board and soldered them in place. The keycaps Omer found are a lovely purple, with a clear top section that has room for little printed labels.
Soldering the Pico
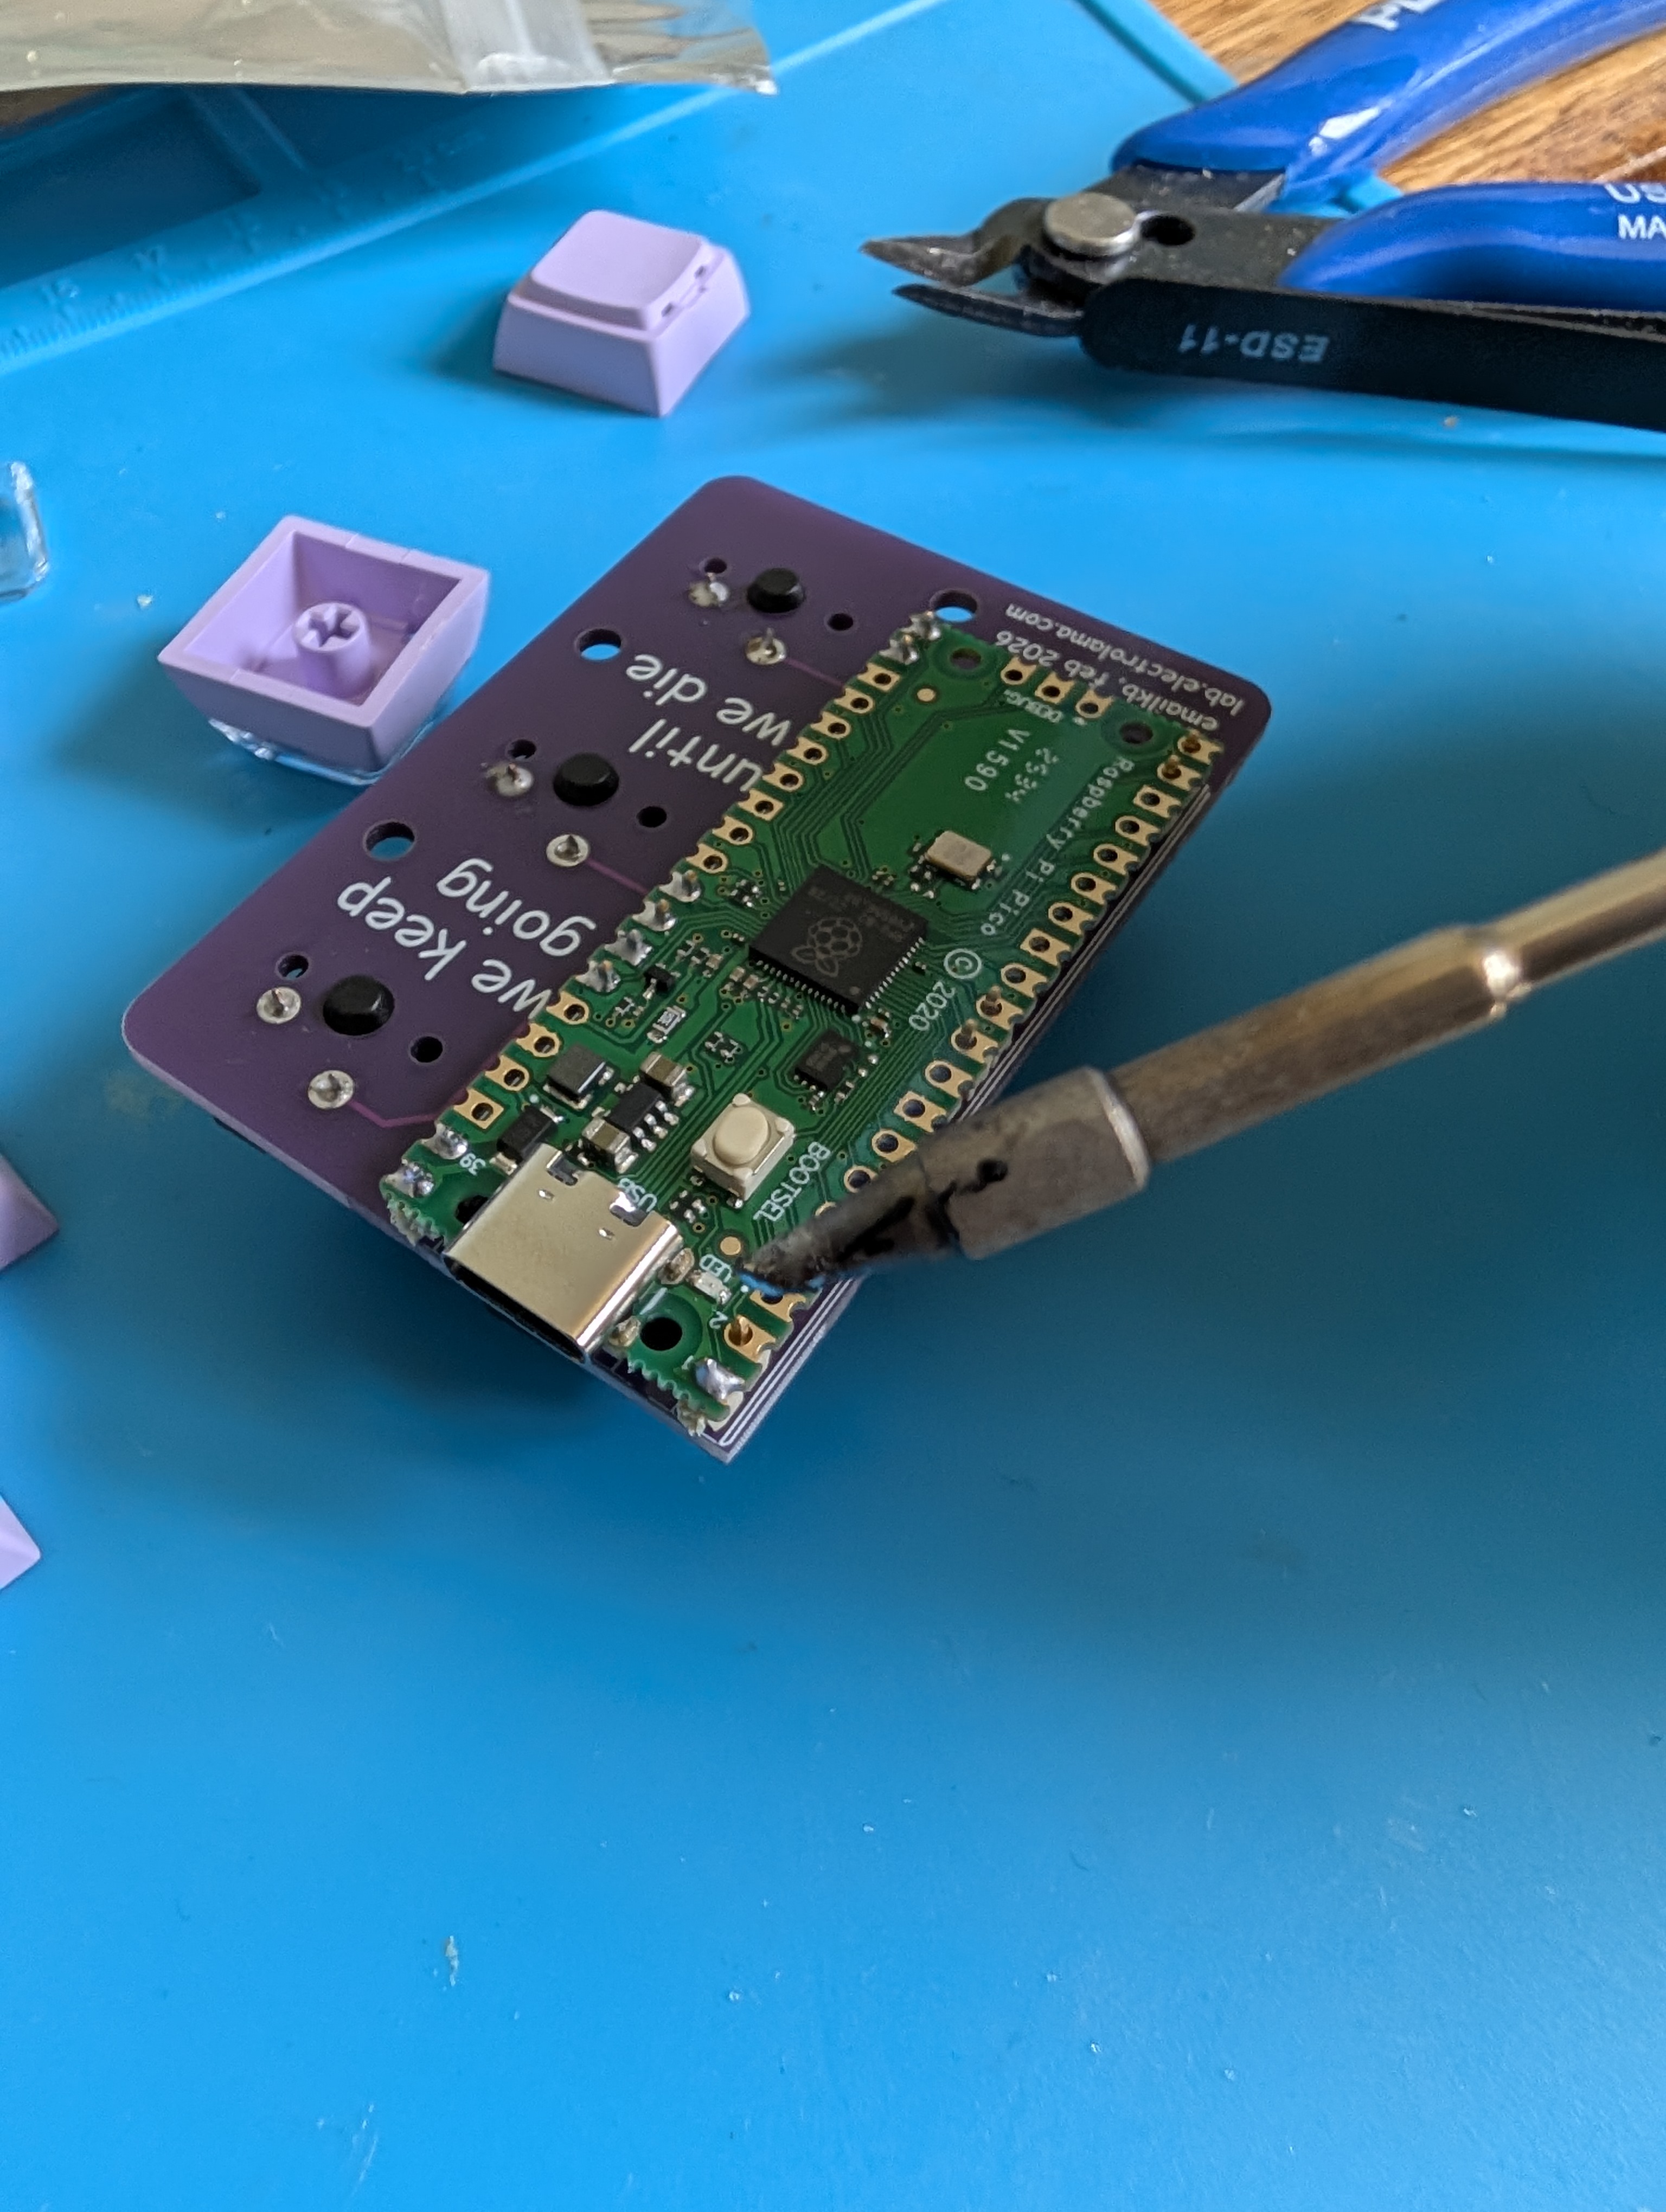
Getting the Pico tacked down
With the switches done, the Raspberry Pi Pico goes on the back of the board via header pins. Omer provided some short header pins, and since only some pins are actually used, headers were only placed where needed, which keeps things tidy.
Building the QMK Firmware
The emailkb isn’t in QMK’s default keyboard list, so the first job was writing a keyboard definition from scratch. That means setting up the folder structure, defining the pins for the Pico, and mapping out the key layout. Once that was in place I could write a keymap, i have configured it for debugger shortcuts in pycharm, and flash it over USB, which for the pico just means dropping the firmware on the mass storage device folder it presents.
{
    "manufacturer": "egelmex",
    "keyboard_name": "omer1",
    "maintainer": "egelmex",
    "bootloader": "rp2040",
    "features": {
        "bootmagic": true,
        "extrakey": true,
        "mousekey": true,
        "nkro": true
    },
    "matrix_pins": {
        "direct": [
            ["GP28", "GP1"],
            ["GP26", "GP7"],
            ["GP17", "GP14"]
        ]
    },
    "processor": "RP2040",
    "url": "https://github.com/egelmex",
    "usb": {
        "device_version": "1.0.0",
        "pid": "0x0000",
        "vid": "0xFEED"
    },
    "layouts": {
        "LAYOUT": {
            "layout": [
                {"matrix": [0, 0], "x": 0, "y": 0},
                {"matrix": [0, 1], "x": 1, "y": 0},
                {"matrix": [1, 0], "x": 0, "y": 1},
                {"matrix": [1, 1], "x": 1, "y": 1},
                {"matrix": [2, 0], "x": 0, "y": 2},
                {"matrix": [2, 1], "x": 1, "y": 2}
            ]
        }
    }
}
Review
The switches we gabbed from Omer’s stock fit, but are missing the algnment pin of mx switches. This led the switches being slighly wonky when soldered. At this point it also need case as it doesnt sit flat without one, and the bare PCB on my messy desk is a asking for short.